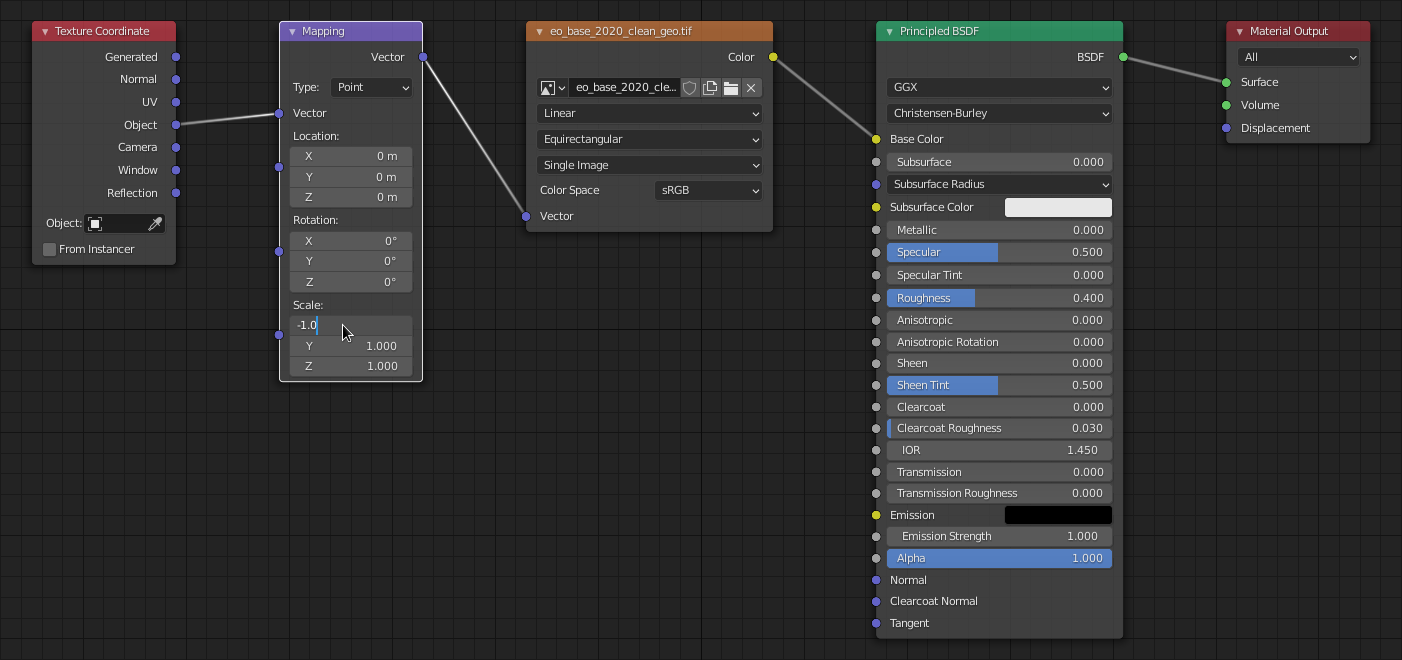
This tutorial will demonstrate how to re-project Equirectangular images to cube maps in Blender, using a technique called Baking. Before you get started, you should set up your material using an environment texture, as described in the previous tutiorial, Using Environment Textures in Blender 2.91.
The material should look something like this in the Shading workspace:
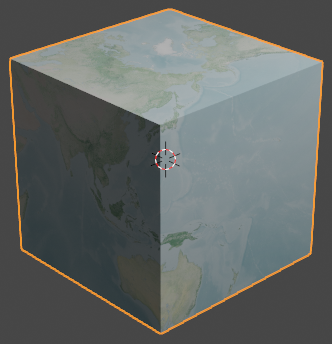
…and your default cube should look like this:
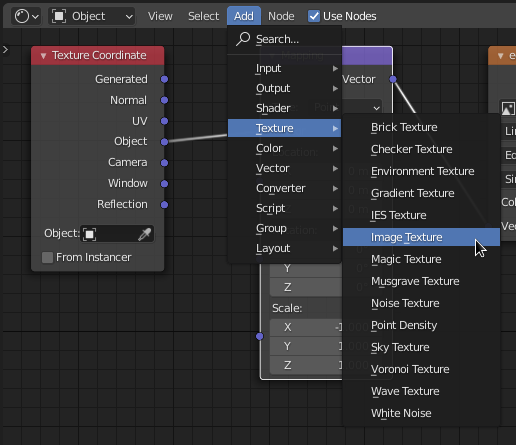
While still in the Shading workspace, add a new Image Texture node to the material:
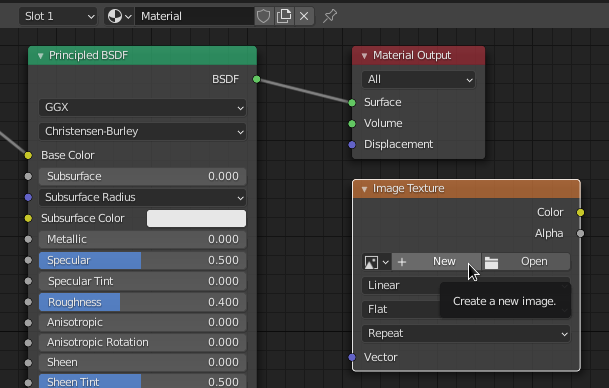
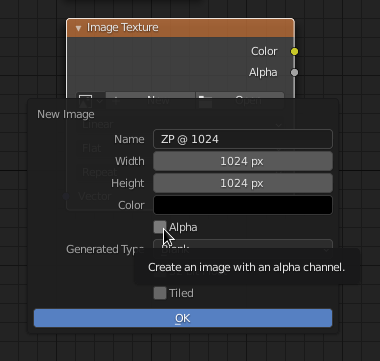
Click New on the Image Texture node to create a new image:
Give the new image some Name, set the desired resolution (Width & Height) and uncheck Alpha, because we don’t have an alpha channel in our environment map.
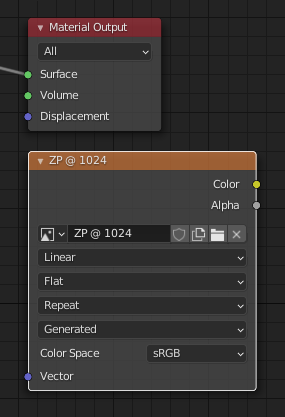
The resulting Image Texture node should look something like this. There’s no need to connect it to anything.
The next step is to UV-unwrap a face of our default cube onto this newly created image. Head over to the UV Editing workspace:

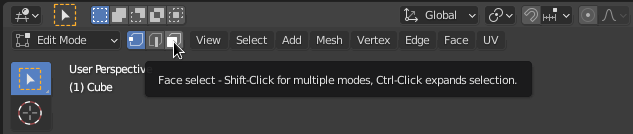
In the 3D Viewport, delete all faces of the cube, except the one that we’re going to project to our image. An easy way to do that is to switch to Face select mode, then Select » All (A) to select all faces, and then Ctrl+LeftClick on the top face to select all faces of the cube, except the top face:
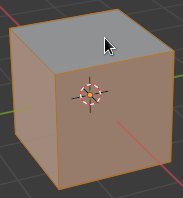
An alternative is to select the top face only, then Select » Invert (Ctrl+I) to select all faces except the top one. In any case, the resulting selection should look like this:
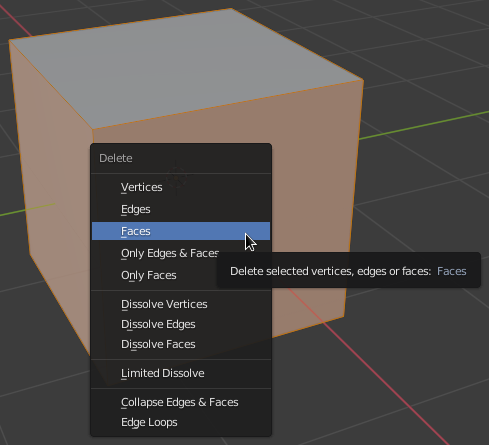
Then hit X and select Faces to delete everything except the top face:
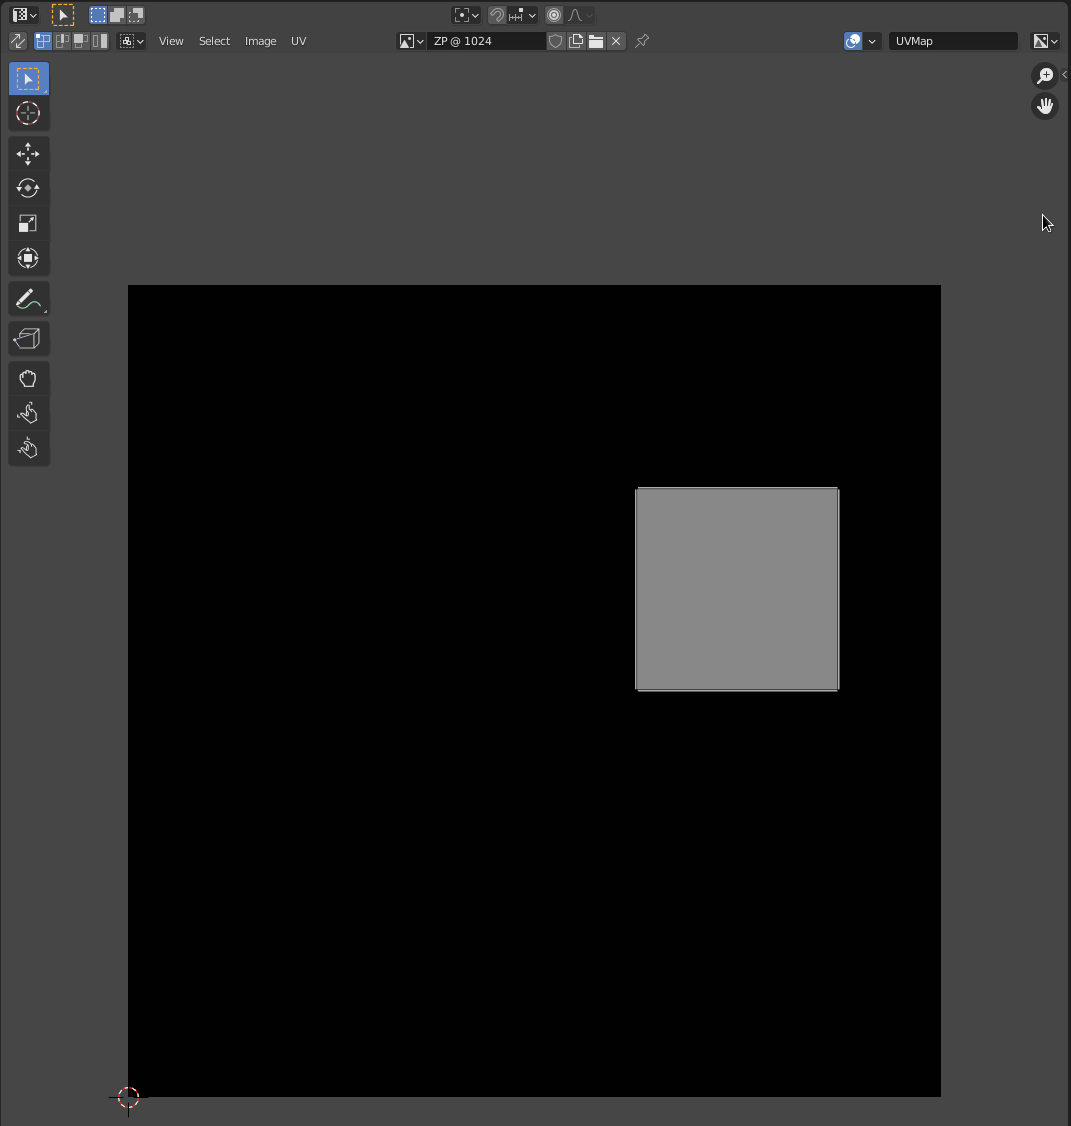
Now click on the top face again to select it, and you’ll see in the UV editor that the face is not aligned to the image:
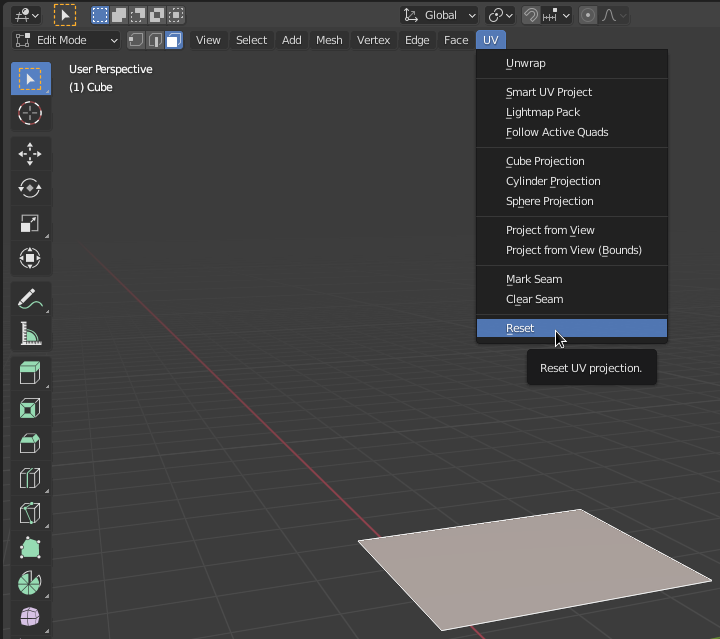
A quick way to fix that is back in the 3D Viewport to click on UV » Reset.
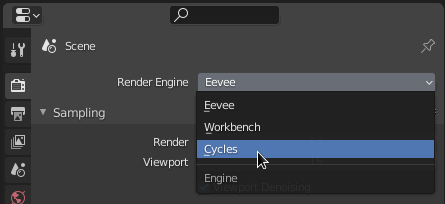
Now that the face is properly UV-mapped to the image, we can go ahead and bake our image texture. Under Properties » Render Properties (on the right), change the Render Engine to Cycles, because Eevee doesn’t bake:
Change the Device from CPU to GPU Compute if you have a supported GPU to bake faster.
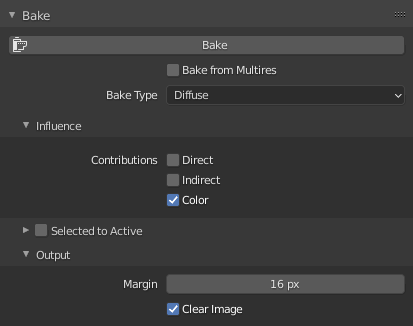
Expand the Bake section and change Bake Type from Combined to Diffuse since we’re only interested in the re-projected image texture.
Still in the Bake section, under Infuence, uncheck Direct and Indirect and make sure only Color is selected. This way lighting information will not be baked onto the image texture, only the colour values of the environment texture.
The Bake section should now look something like this:
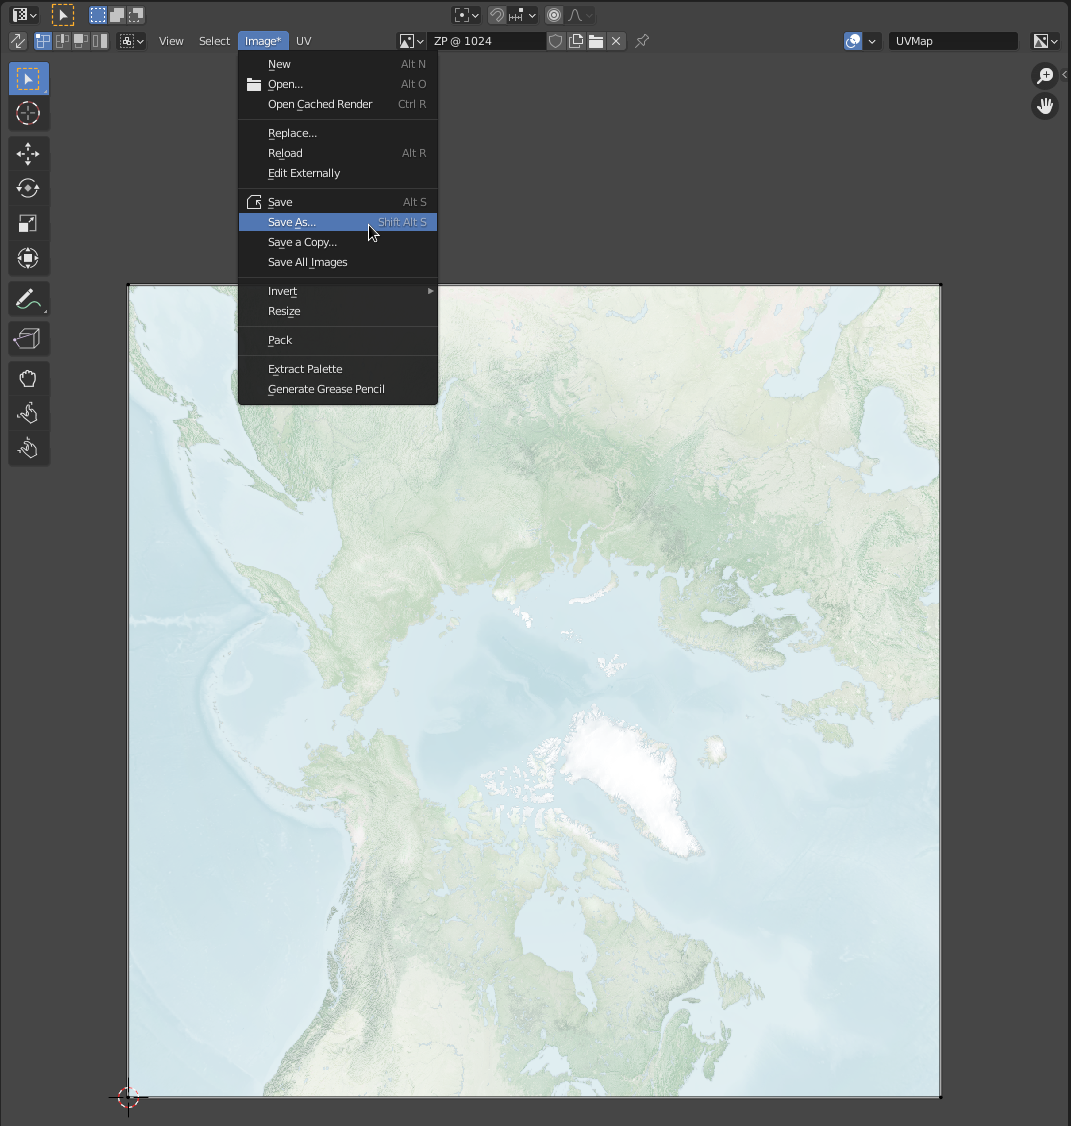
Go ahead and click on Bake. It will take a while, depending on the resolution of your image texture. Once it’s done, the UV Editor on the left will update with the contents of the baked image. Click Image* » Save As… (Alt+Shift+S) to export the image:
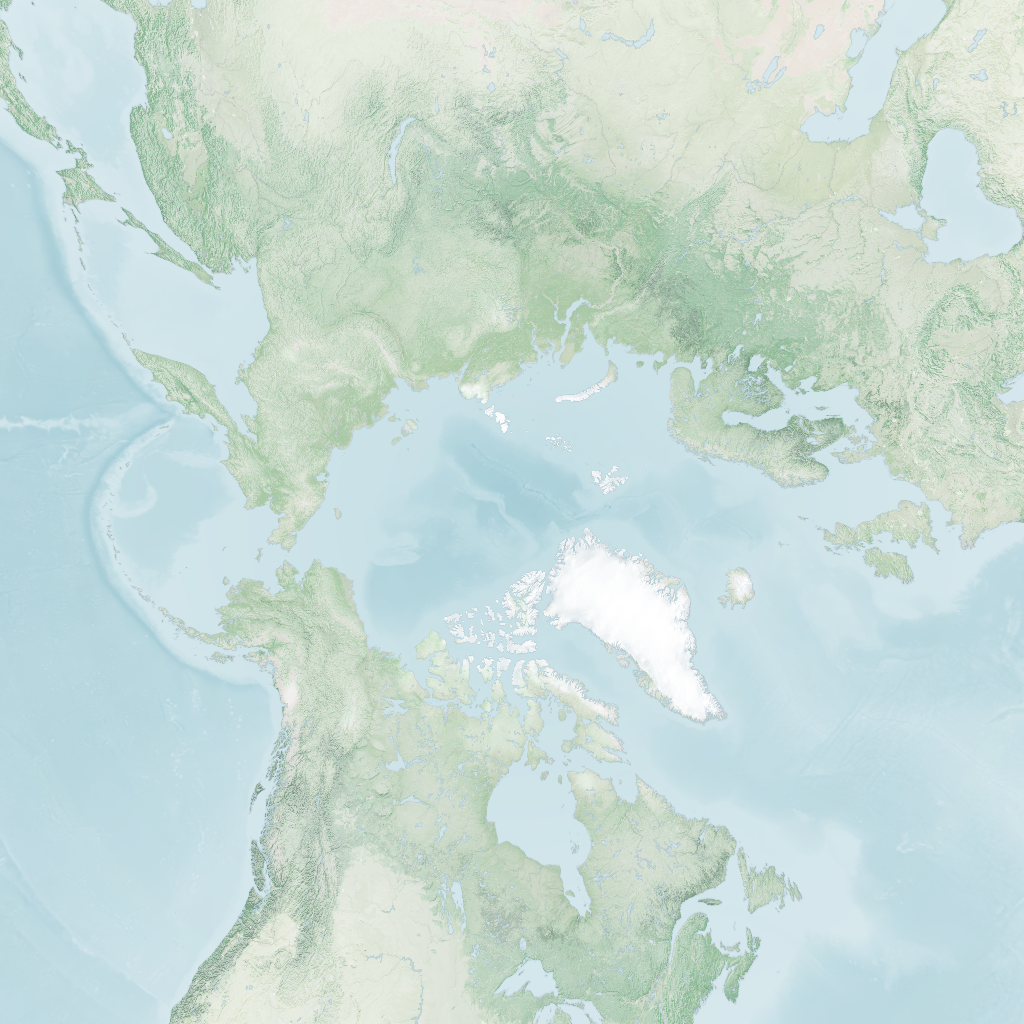
The exported image texture now has the North pole projected to the top face of a cube:
Next step in the series: