This tutorial will demonstrate how to use equirectangular environment textures in Blender. I’m going to use version 2.91 just because that happens to be the latest stable version.
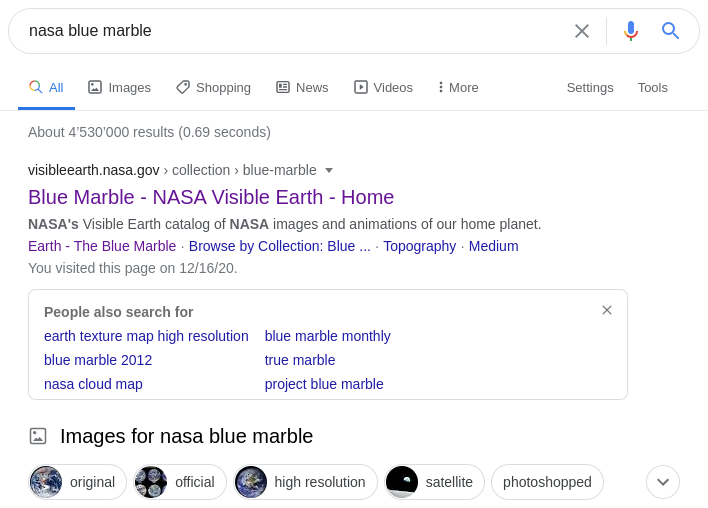
As an example, we’re going to make an “Earth” texture. Before we dive in, we need to download some high-res textures: I got mine from a Google search:
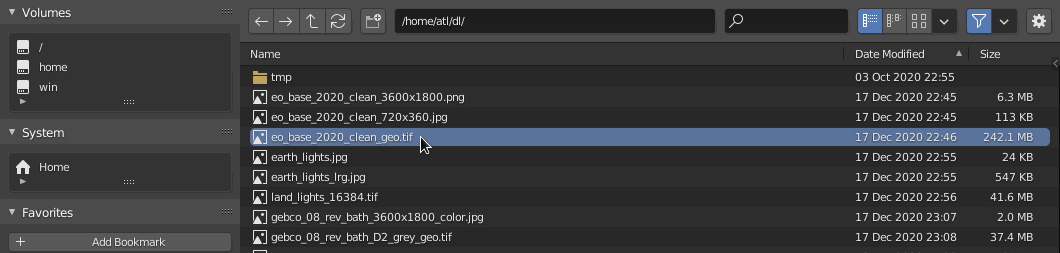
I downloaded the “Explorer Base Map”, published September 1, 2020. The 3600×1800px PNG (6 Mb) is good enough, however in this tutorial I’m going to use the 21600×10800px GeoTIFF (231 Mb) to get even higher resolution.
The texture looks like this:

Now that we have a texture to use, fire up Blender:
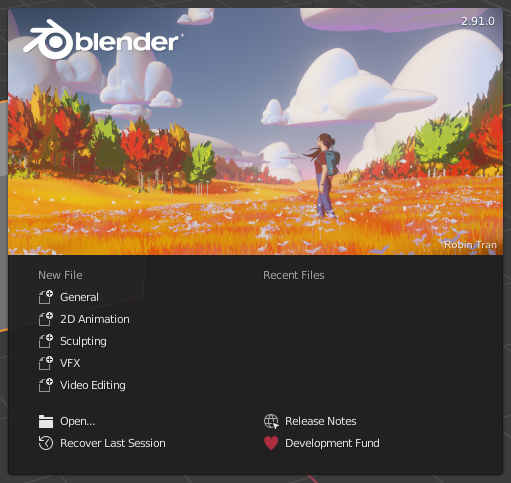
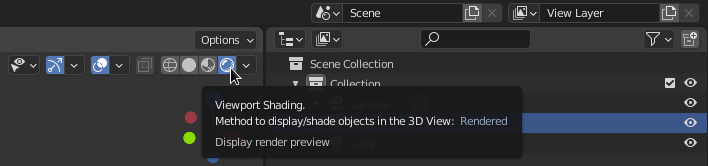
…and go straight to the Shading workspace:

The default cube should have a material called “Material”, go ahead and rename it, e.g. to “Earth”:

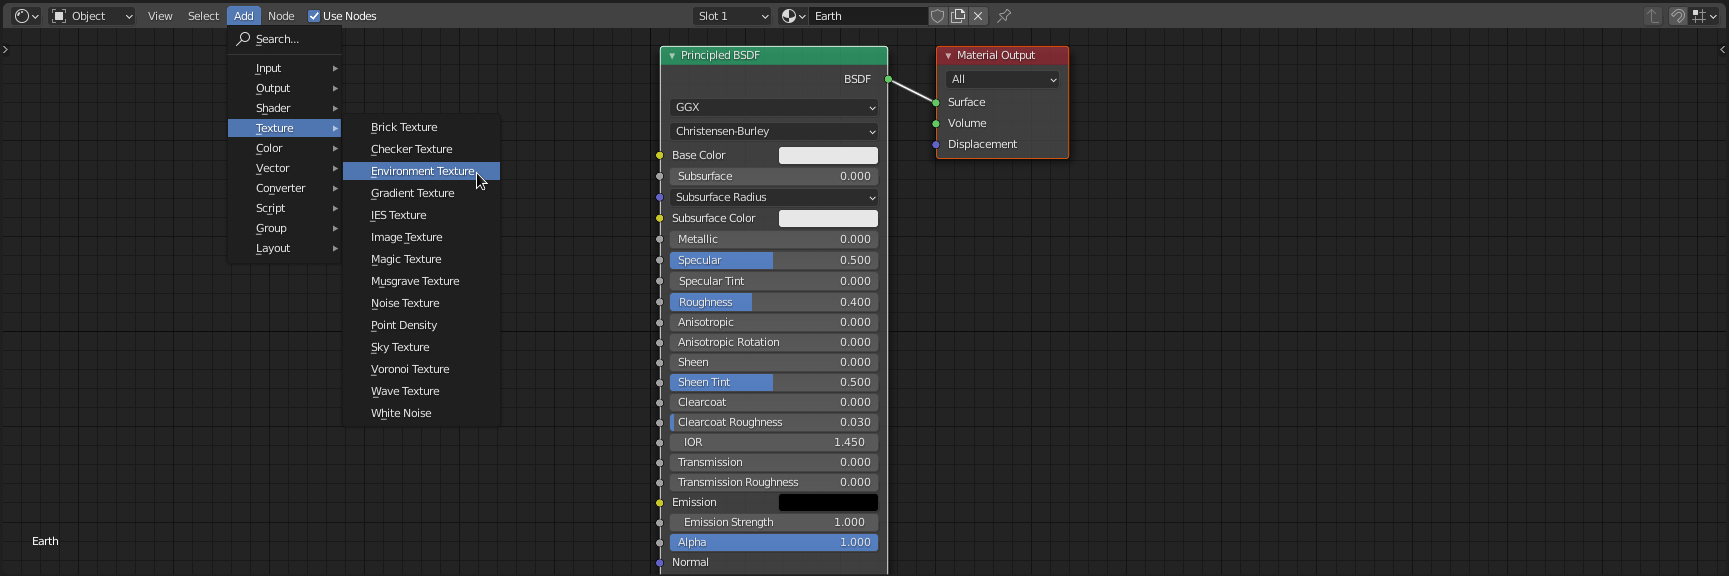
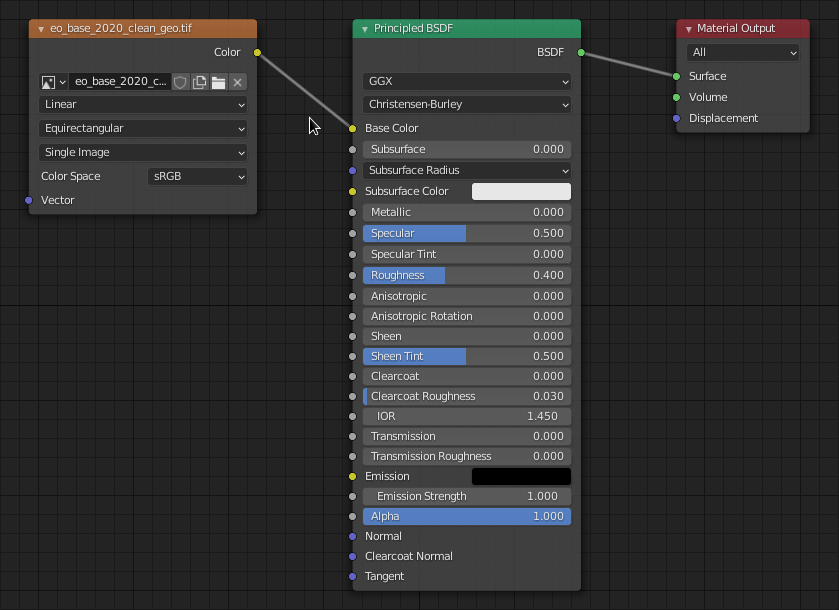
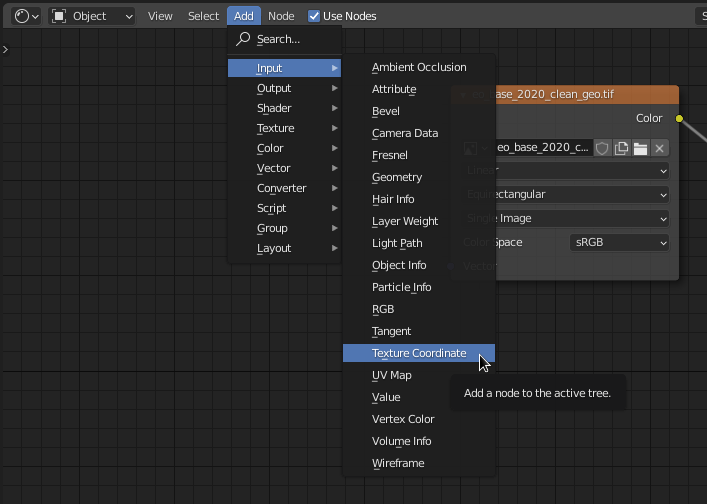
Add an Environment Texture node:
Click Open and locate the image file that we downloaded earlier:

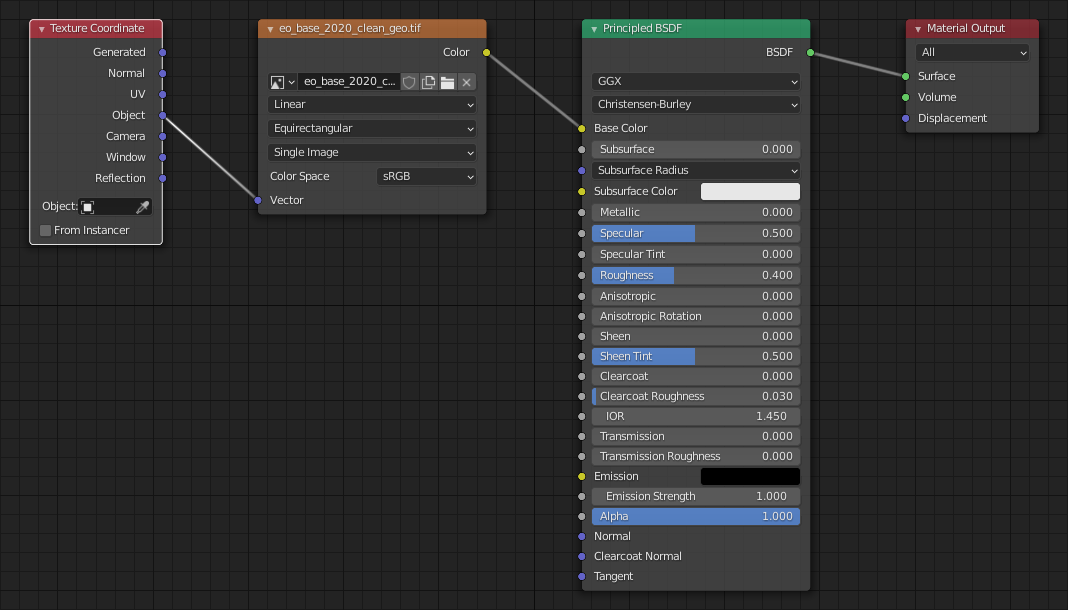
Connect the Color output of the Environment Texture node to the Base Color input of the Principled BSDF node.
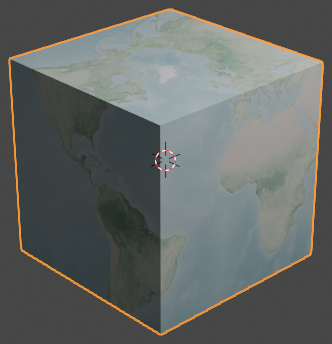
Once the nodes are connected, the default cube should already have the texture applied:
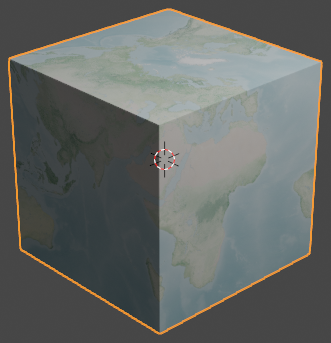
Note that the above example is viewed from the default camera (Numpad 0) with Viewport Shading enabled:
Also note that our cube-Earth is horizontally “flipped”, i.e. it looks as if it would look in a vertical mirror. To fix that we will scale the texture along the X axis by -1.
Start by adding a Texture Coordinate node and connect its Object output to the Vector input of the Environment Texture node:
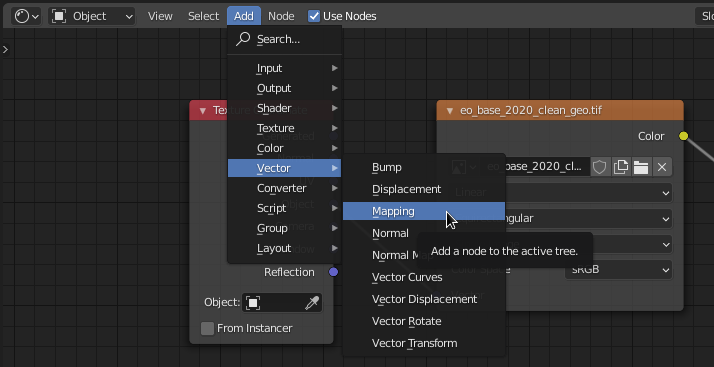
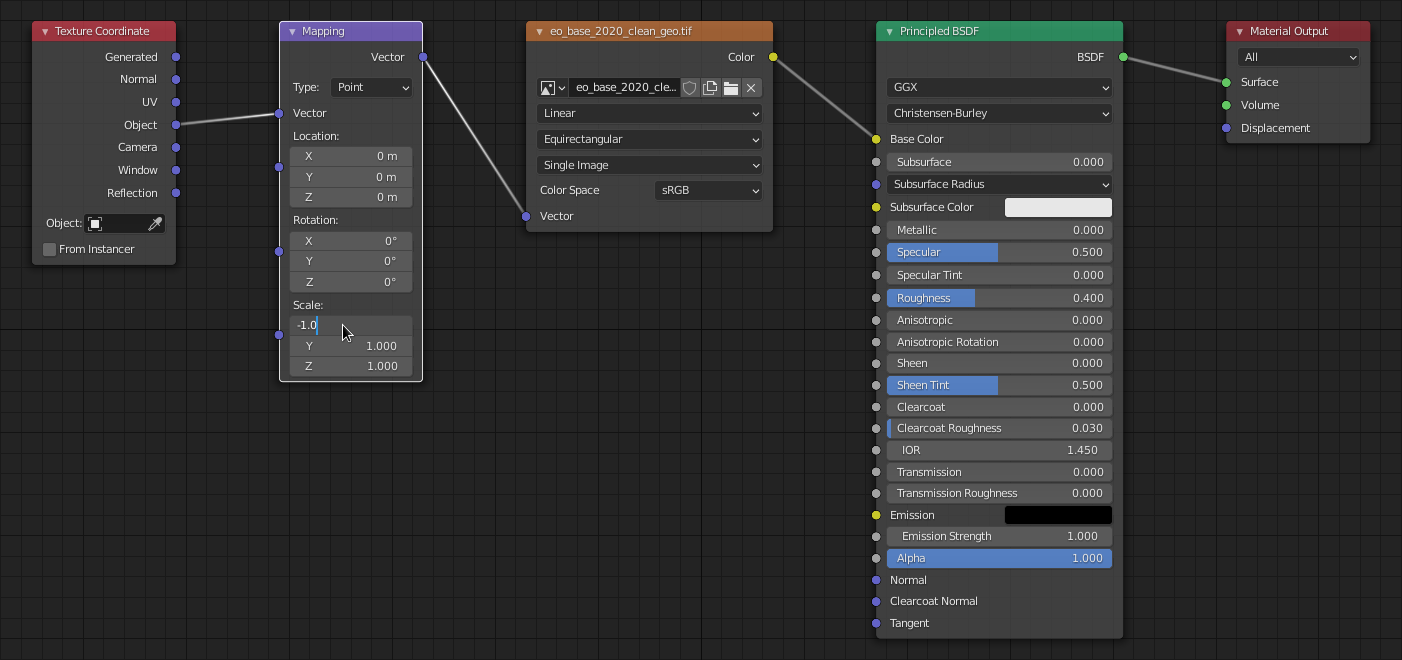
So far haven’t changed anything, the texture is still flipped. To make the actual transformation, add a Mapping node between the Texture Coordinate and Environment Texture nodes, and change the X axis of the Scale factor from 1 to -1, like so:
The default cube should have the texture applied the right way now. Here is how it looks, after rotating by 180° degrees around the Z axis (R Z 180):
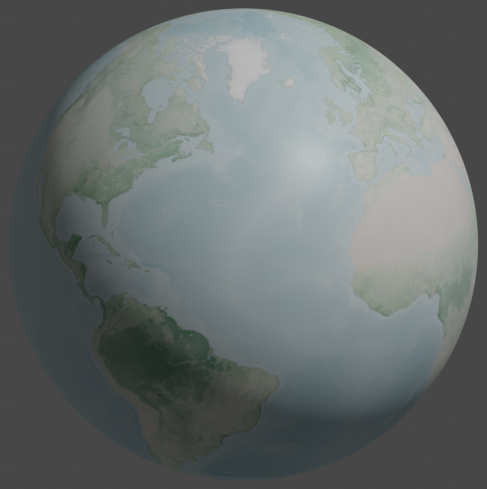
Of course, we can obliterate the default cube and add a UV sphere instead, apply a SubSurf modifier, rotate it 180° along the Z axis and render it to get a more reasonable-looking planet Earth:
Next step in the series: